Swift Extensions
Swift extensions are a unique feature to the Swift language. I will try to outline all the different ways extensions are used in a project.
Overview
Swift extensions are a unique aspect to the Swift language. The Official Definition mentions that extensions are about “…adding new functionality to existing class, structure, enumeration or protocol types.”
Extensions can be more then just adding functionality. It can be a good way of organizing and formatting your thoughts into code so your future self can have a better understanding of what is going on.
Let’s get into some examples:
Extensions for Customizing Existing Functionality
In popular web frameworks like Ruby or PHP, they have a function for trimming the whitespace on a string trim() or strip(). Swift does have a similar feature it’s called trimmingCharacters(in:) | Apple Developer Documentation
Anytime I want to trim white space around a string I need to remember .trimmingCharacters(in: .whitespacesAndNewlines). It's a long method name to remember.
With extensions I can write an extension on String and wrap trimmingCharacters(in:) into something I can remember called trimmed.
import Foundation

extension String {
    var trimmed: String { // [!code highlight]
        return self.trimmingCharacters(in: .whitespacesAndNewlines)
    }
}

let example = "  some space is here      ".trimmed
print(example) // "some space is here"
I try to make an effort to remember the API that is relevant in swift. But Extensions do allow you to do this sort of thing. When I do create extensions that are common I would place them in it's own folder.
Extensions folder grouping the helpers, named Type+Feature.I will create a folder called “Extensions” and then add a naming conventions like so. I believe this convention is copied from the days of Objective-C and using categories.
And I believe this convention is for extensions on files that you don't own. So I don't own String, Array or Color. Thus we follow this format.
Extensions for Adding New Functionality
In a language like Elixir I like this function called Enum.intersperse/2.
I would like to add it to Swift. I can do so by extending the Array class with the following:
extension Array {
    func interspersing(_ element: Element) -> Array { // [!code highlight]
      flatMap { [$0, element] }.dropLast()
    }
}
Interspersing1 is about placing an element between items within an array. An example can be taking an array of words and placing a comma between the words.
Followed by using reduce to turn that array into a string.
let spaced = ["one", "two", "three"].interspersing(", ")
print(spaced) // ["one", ", ", "two", ", ", "three"]

let joined = spaced.reduce("") { result, item in result + item }
print(joined) // "one, two, three"
I’m aware that the Swift standard library already supports something similar to the above reduce function. You could have just done the following:
let final = ["one", "two", "three"].joined(separator: ", ")
print(final) // "one, two, three"
Extensions for Organizing Assets
If you have a lot of common colors you can use extensions to add those colors by adding an extension to Color or UIColor
Grouping common colors like this makes it much easier to find the colors you need when your using Xcode and the autocomplete window appears.
import SwiftUI

extension Color {
    static let brandColor = Color.red
    static let footerColor = Color.blue
    static let backgroundColor = Color.blue
}

// You can now access those colors
Color.brandColor
Make the properties static and you can access them with needing to init().
It also works with UIColor
extension UIColor {
    static let brandColor = UIColor.red
    static let footerColor = UIColor.blue
    static let backgroundColor = UIColor(red: 1, green: 1, blue: 1, alpha: 1)
}
// You can now access those colors
 UIColor.backgroundColor
Extensions for Organizing Structure
You can use extensions to break your structure into smaller pieces so it’s easier to reason. In this example you can take your common UITableViewController and break it into 3 separate parts.
// BEFORE
class ContenTableViewController: UIViewController, UITableViewDelegate, UITableViewDataSource {
}
// AFTER
class ContenTableViewController: UIViewController {}
extension ContenTableViewController: UITableViewDelegate {}
extension ContenTableViewController: UITableViewDataSource {}
I would take 1 file and just reorganize it this way so. You can now see where your tableview specifics are organized vs viewDidLoad methods and properties.
This example doesn’t add any new functionality but it just seperates it out so its easier to read in my opinion. UITableViewController is a rather large class and seeing it seperated out like this helps.
Extensions for Custom Inits
In this example we are going to have a User struct:
struct User {
	var first_name: String
	var last_name: String
}
Now if you wanted to initialize this you can do so with the following:
User(first_name: String, last_name: String)
If you wanted to add another way to initialize this struct with a dictionary you can do so like this:
struct User {

	var first_name: String
	var last_name: String

    init(dictionary: [String: String]) {
        self.first_name = dictionary["first_name"] ?? ""
        self.last_name = dictionary["last_name"] ?? ""
    }

}
The problem with this is you have now lost your original member-wise init. The only way to create this struct is by using a dictionary.2
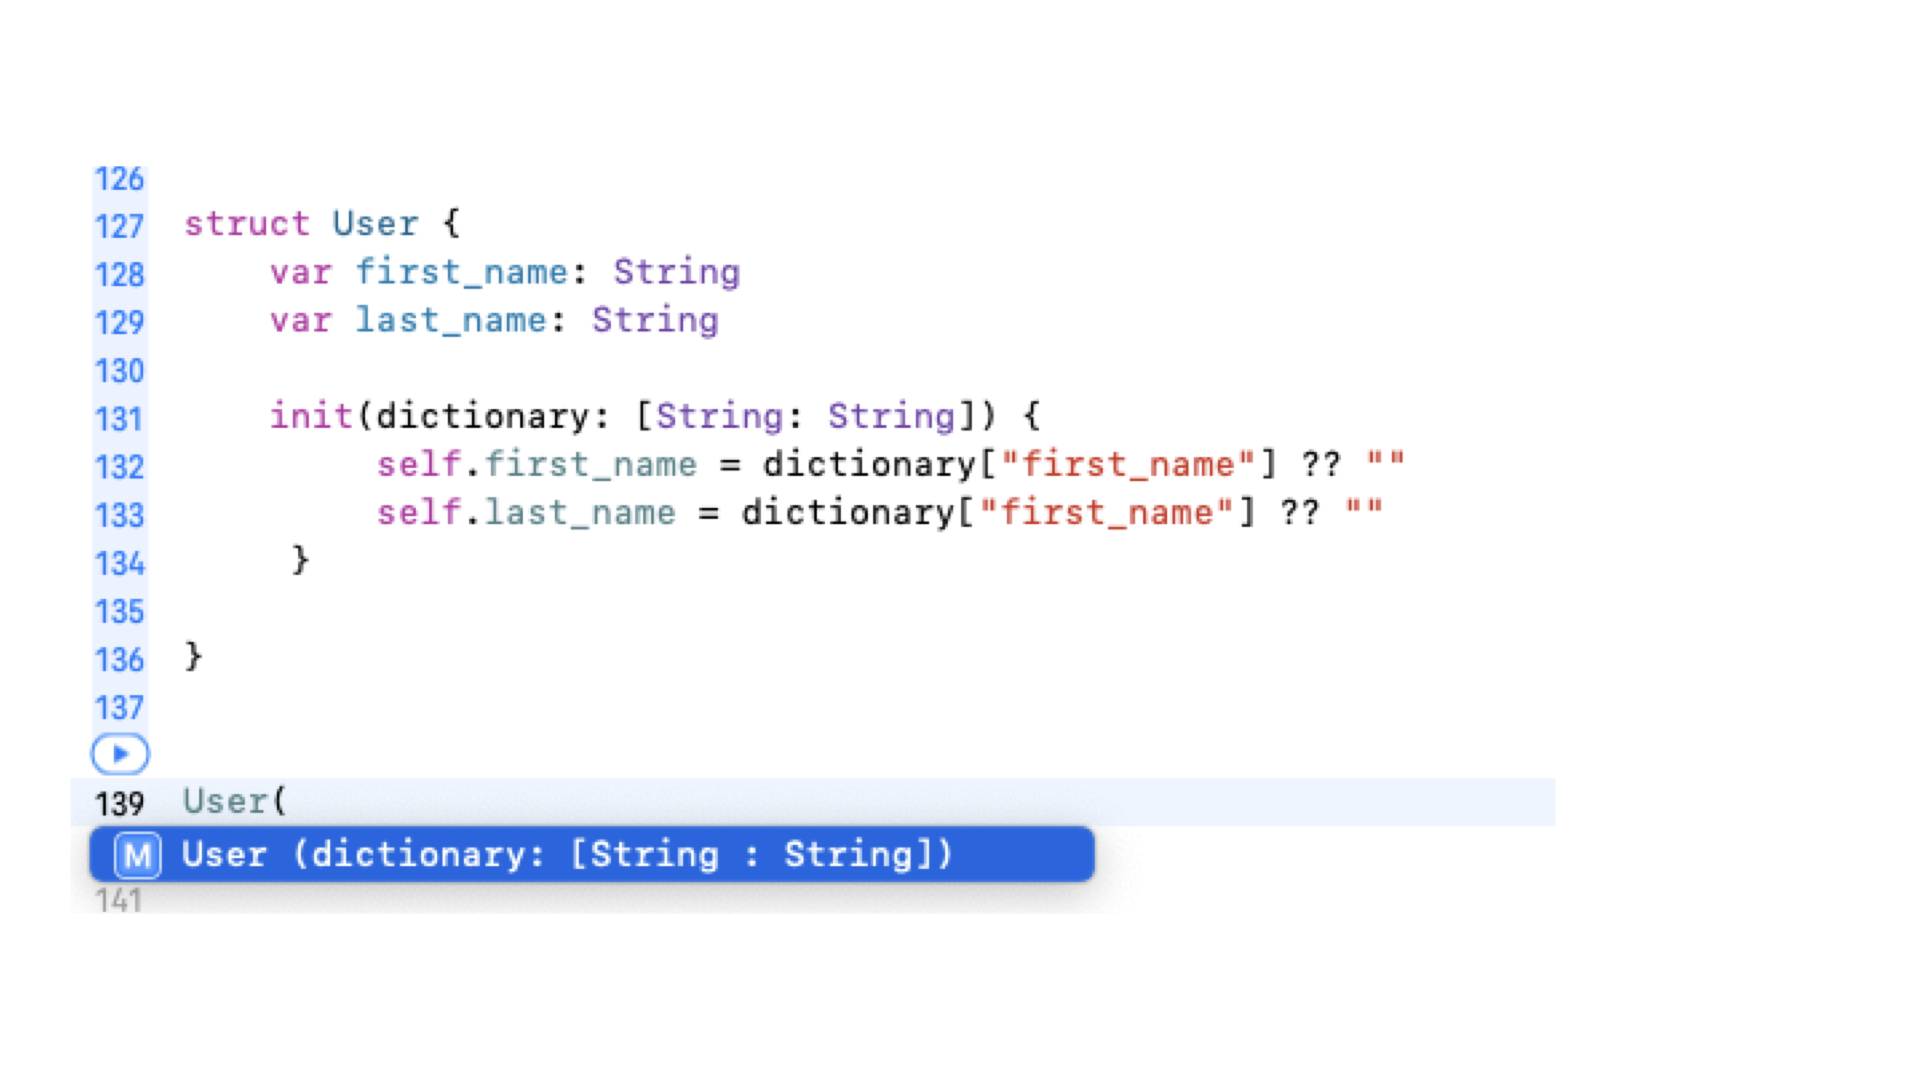
init in the struct body, only the dictionary initialiser is offered.However, if you move init(dictionary: [String: String]) into an Extension then you can have both ways of initializing your struct.
struct User {
    var first_name: String
    var last_name: String
}

extension User { // [!code highlight]
    init(dictionary: [String: String]) {
        self.first_name = dictionary["first_name"] ?? ""
        self.last_name = dictionary["last_name"] ?? ""
    }
    func asDictionary() -> [String: String] {
        return [
        "first_name": self.first_name,
        "last_name": self.last_name
        ]
    }
}
Now look at autocomplete and you should see both examples.
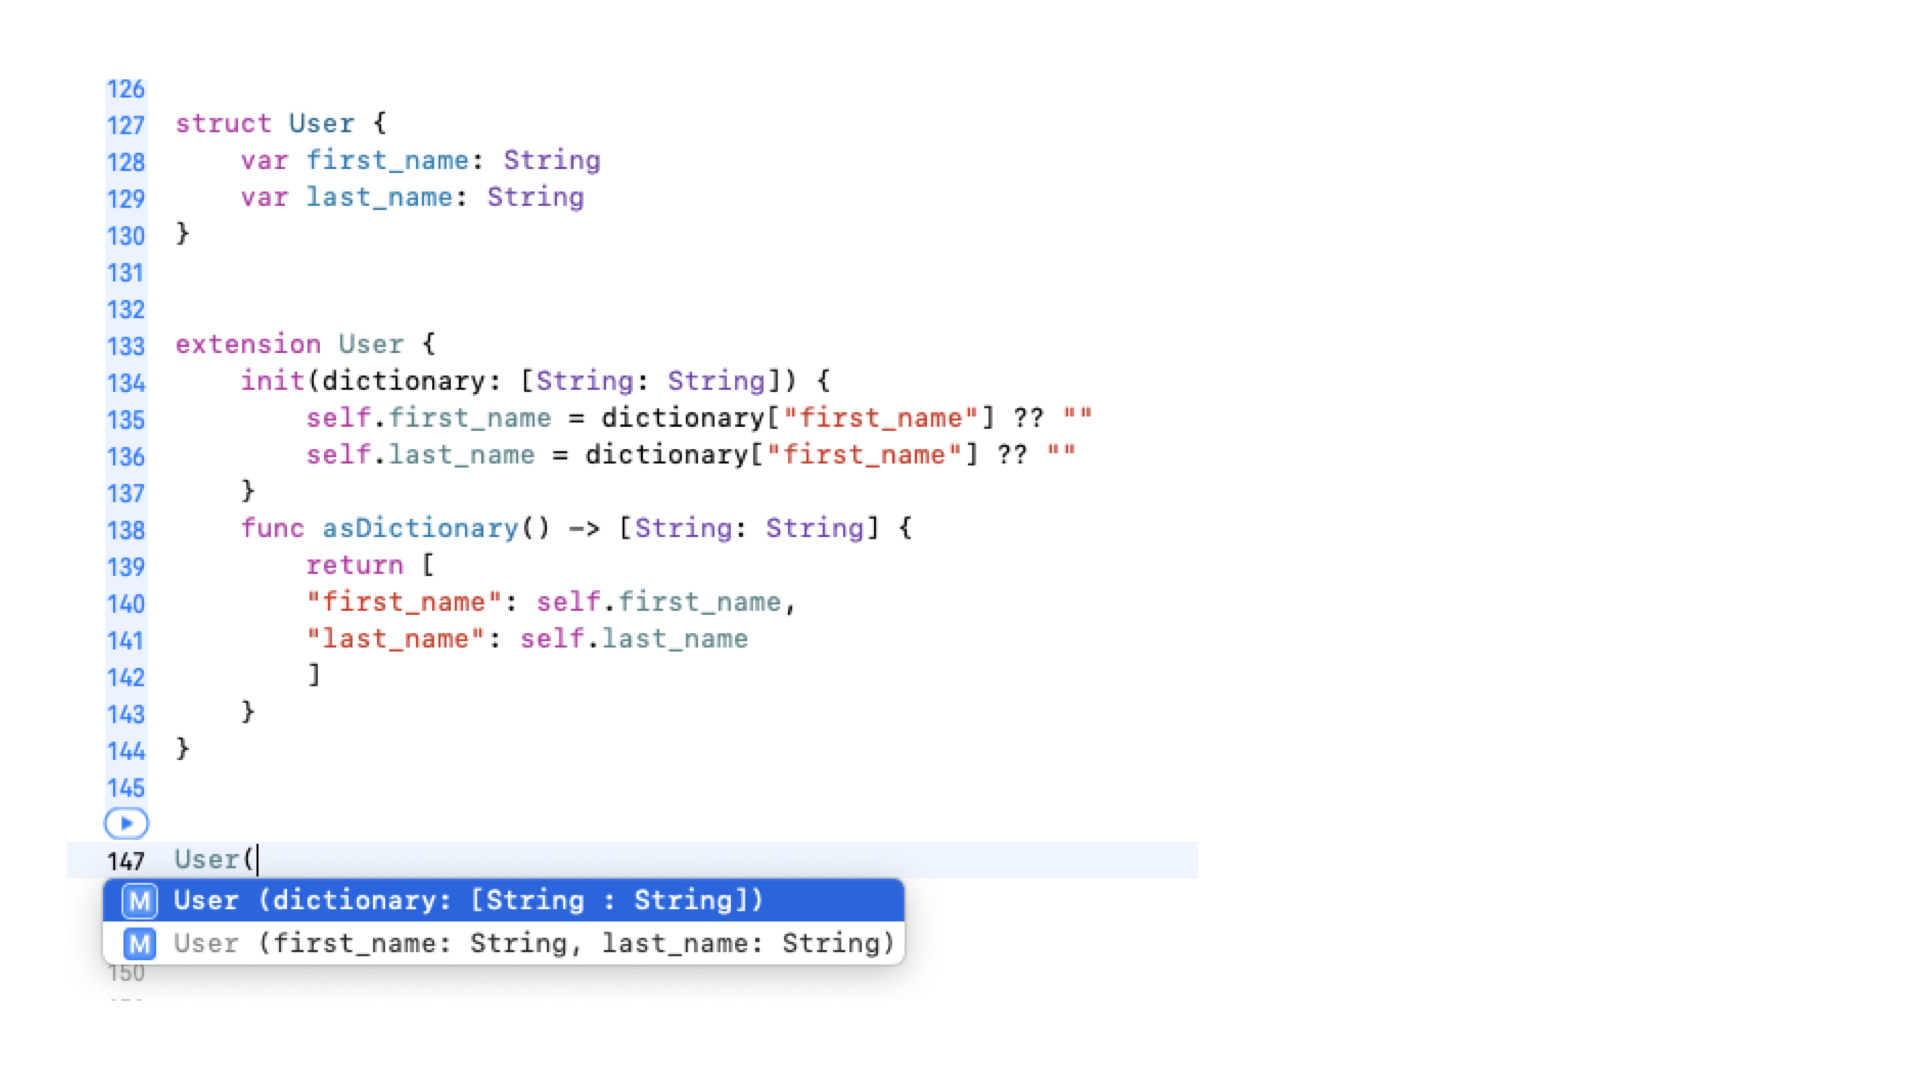
init to an extension and both initialisers come back.This example might be too specific but I like the fact that anything that deals with a Dictionary are grouped within the extension outline. It makes it easy to scan and reason with.
In the future you might support the ability to init a user via JSON or XML or some other means. Grouping them seperate via extensions helps shape the information.
Even though the User extension is broken into sections I would keep it all in one file.
-
Borrowed from Elixir's
Enum.intersperse/2. TheflatMap { [$0, element] }pairs every item with the separator, thendropLast()removes the trailing separator left on the end. ↩ -
Swift synthesises a member-wise initialiser (
User(first_name:last_name:)) for a struct automatically — but only as long as you don't declare your owninitinside the struct's body. Defining one there suppresses the synthesised one; declaring it in anextensiondoes not. ↩